- Shop by Fabric
- Precut Fabric
Precut Fabrics Shop All >
- Quilt Kits
- Clubs & BOMsClubs & Block of the Months Shop All >
- Notions
- Patterns
- Books
- Cross Stitch
- Home & Gifts
How to Bind a Quilt
You did it! You've nearly finished your quilting, and now all that's left to do is bind your quilt. This final step is actually pretty easy, especially when you've got a step-by-step tutorial to follow along with.
There are many ways to do binding, so this tutorial will demonstrate the most popular binding method using 2 ½” cut strips. For today's quilt binding tutorial, we'll be teaching you how to bind your quilt using 2 1/2" double-fold binding strips. You’ll also be using your handy sewing machine so you can make quick work of your binding and be cozied up with your quilt on the couch before you know it.
Before we begin, make sure you have everything you need. We recommend having these common sewing tools handy:
- Quilting ruler
- Rotary blade or a good pair of scissors
- Pins & clips
- Pencil or fabric marking pen
- Color coordinating thread
- Size 9-12 needle for hand binding
Preparing Your Binding Strips
The formula to determine the yardage and number of strips you'll need for your quilt is actually quite simple:(quilt length + quilt width) x 2 = your quilt perimeter. Then add 20".
Divide that number by 40" to get your total number of strips. Remember to round up.
Take your number of strips and multiply that by your 2.5" binding width.
Divide that number by 36", and now you've got how many yards of fabric you’ll need for your binding. Simply round up to the nearest quarter, eighth or half yard.
Example:
For this example, we'll be using a 60" x 72" quilt.(60" + 72") x 2= 264" quilt perimeter.
Add 20" = 284" total binding length.
284" / 40" = 7.1 so round up to 8 strips to make things easier.
8 strips x 2.5" binding width = 20"
20" / 36" = .55 yards of fabric for your strips. Round up to the nearest 1/8 yard (5/8 yard for this quilt), and you're all set.
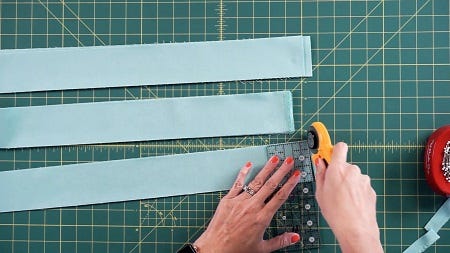
Cut your 2.5" binding strips, and remember to discard the selvages.
Ready? Let's get started!

Preparing Your Quilt for Binding
It's time to trim the quilt batting and backing. Some quilters like to cut the batting right to the edge, but we recommend leaving a ¼" from the edge of your quilt top.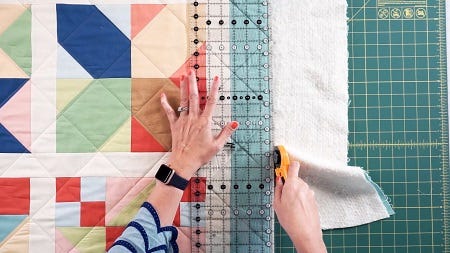

Joining Your Binding Strips
On your sewing machine, set it to 2.0 stitch length and put on an open-toe foot.
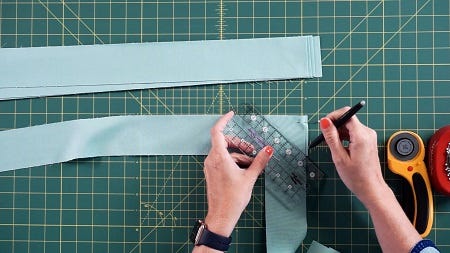
Take two strips and layer them together, right sides facing each other, forming a right angle. Pin in place. Take your pencil and draw a diagonal line from corner to corner where the edges meet on the wrong side of the fabric. Using your sewing machine, sew on your drawn line with matching thread and then cut away the excess fabric leaving a ¼" next to your drawn line.

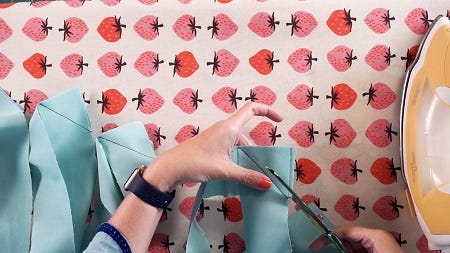

Press the ¼” seam open and repeat until all of your binding strips are joined.
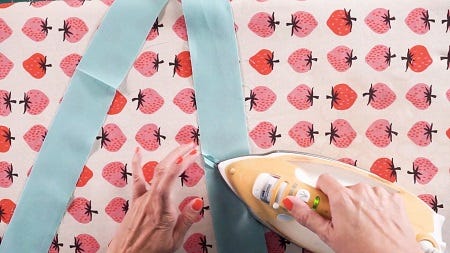

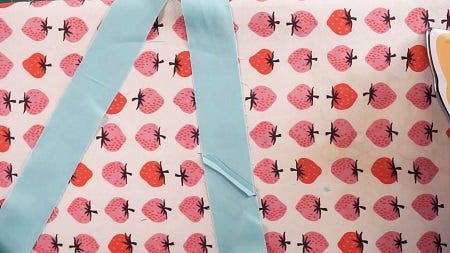

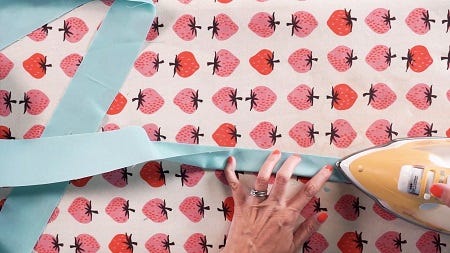
Take your binding strip and fold it in half lengthwise, pressing the wrong sides together.

Start Binding Your Quilt
Grab your ruler and mark lines with a fabric marking pen or pencil in the center of one of the edges of your quilt top and batting that are 12" apart. These lines will be the start and finish for your binding.
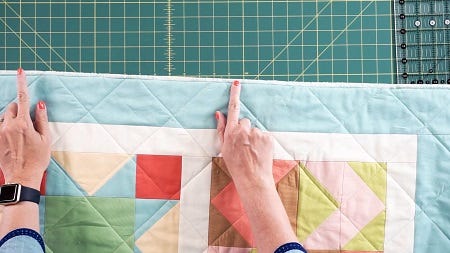

Match the raw edges of your binding strip with the edge of the quilt top. Leave 12" of your binding strip between the start and finish lines before pinning your strip to your quilt.
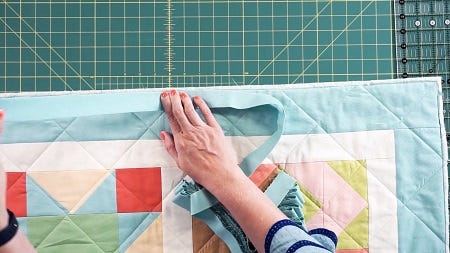

On your sewing machine, set it to 2.5-3.0 stitch length and put on a walking foot.
It's time to use your sewing machine. A walking foot allows you to sew through multiple layers of fabric and batting. Beginning at the start line, sew the binding strip to your quilt top. If needed, adjust the needle position to create a ¼" seam. Backstitch to start.
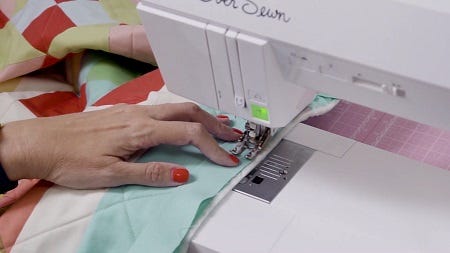

The First Corner
As you approach the corner of your quilt, mark a line ¼" away from the corner of the quilt top as a guide. Continue sewing to the marked line. With needle down, pull up the foot and rotate the quilt top 45-degrees. Then continue sewing at a diagonal off the edge of the quilt top. Cut your thread.
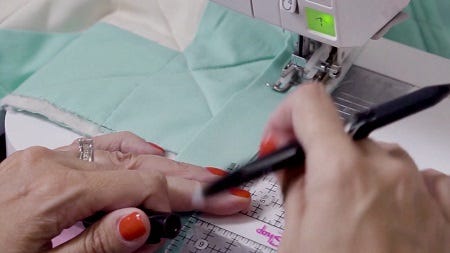

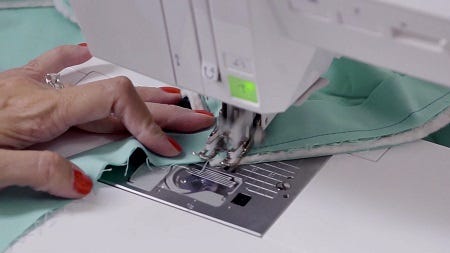

Fold the binding strip away from the quilt top at a 45-degree angle and press.
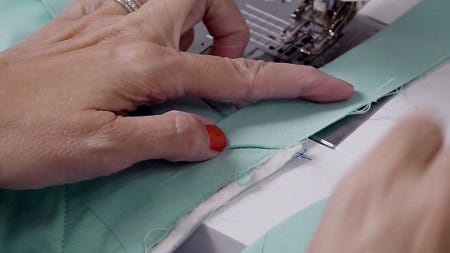

Fold the strip back over again at a 90-degree angle, aligning the folded strip edge with the edge of your quilt that you're going to bind next. Pin in place. This is called a mitered corner.
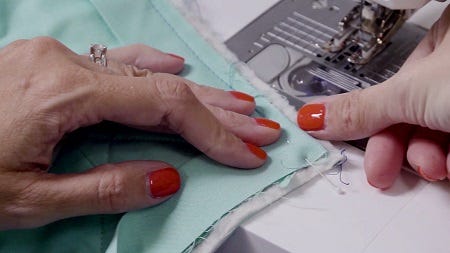

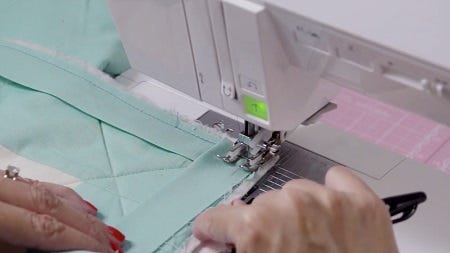

Continue sewing and folding your corners until you reach the finish line that you marked earlier. Backstitch, then measure your opening to ensure that it is still 12". Adjust your stitches if needed.
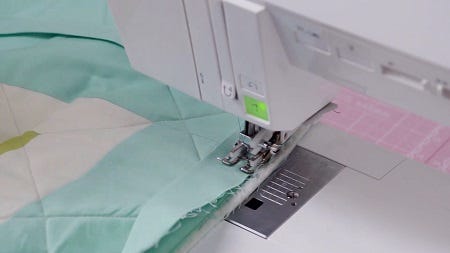

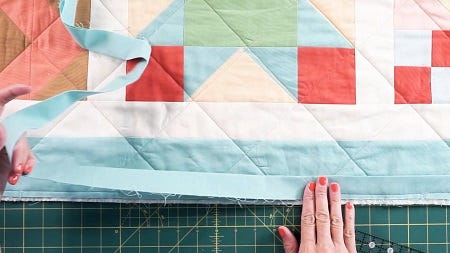

Finishing The Front
Using scissors, clip the binding strip from the left side in the middle of your two lines, leaving about a 6" tail. This will remove excess fabric to manage in the next steps, but it is optional.
Take your remaining binding strip from the right side, pull it past the cut edge of the left binding strip at least 4” and trim, leaving about a 10” tail.
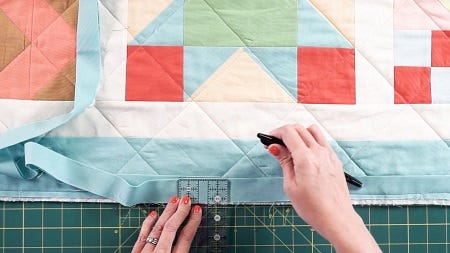

Cut the right binding so that it only overlaps the left by 2.5". The overlap is 2.5” because that is the width of your unfolded binding strip.
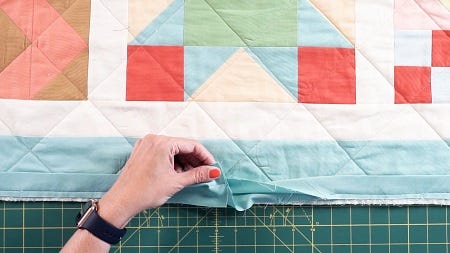

Using a clip or pin, pinch the bottom of the quilt, so the two binding strip tails are closer together and easier to work with.
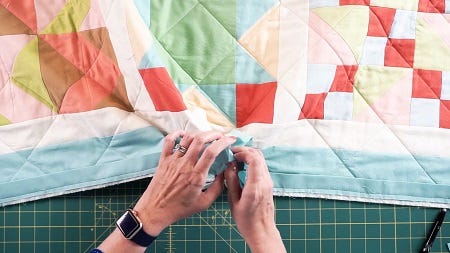

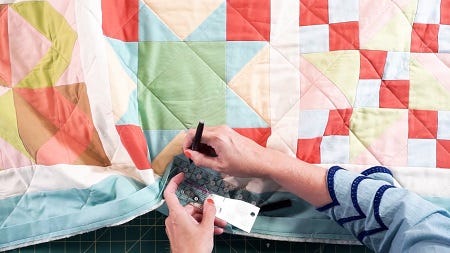
Take the right tail and flatten it out, right side up. Open up and place the left tail over it at a 90° angle, right sides together. Pin and mark a 45° diagonal line from the top right corner to the left bottom edge.

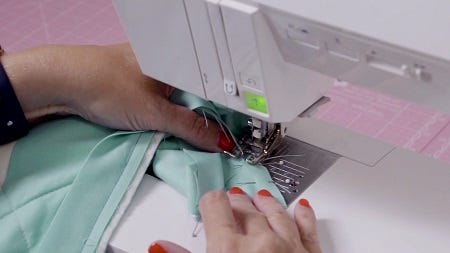
On your sewing machine, set it to 2.0 stitch length and keep the walking foot.
Sew the ends of the strips together on the drawn line. Do not cut or press the ends.

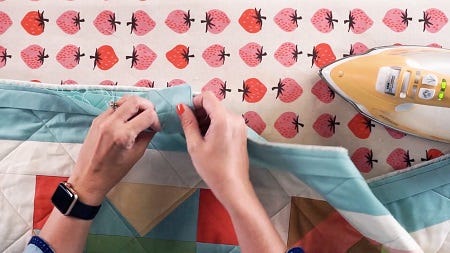
Press the joined binding strip flat and verify that it's the right length. If it lays flat and flush on your flattened quilt top, then it is correct.

Once you've determined that the binding is the appropriate length, cut the ends away, leaving a ¼" of fabric after your seam line.
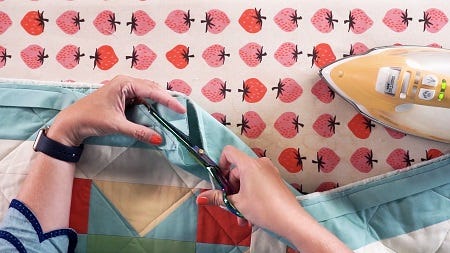

Press the seam open.


Press the binding flat against the quilt top and pin in place. Complete your sewing between the start and finish marked lines, overlapping a few previous stitches on both ends.
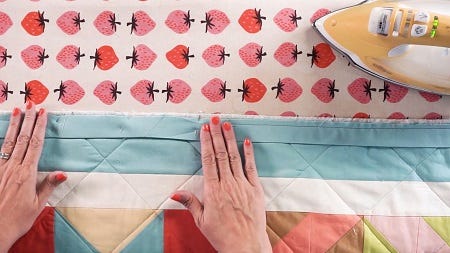

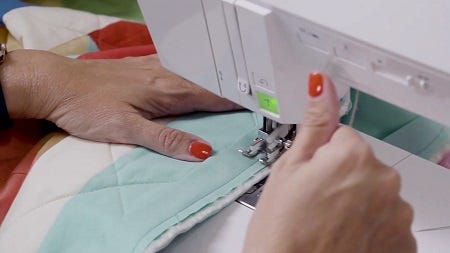

Cut each of the corners on a diagonal to remove some excess fabric.
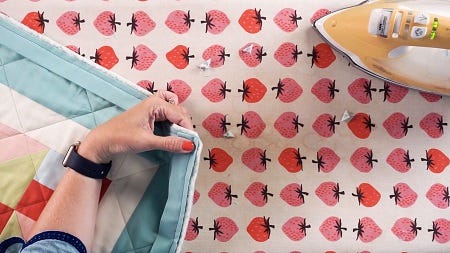

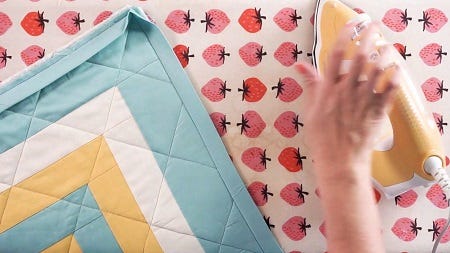

Almost Done!
Using binding clips, clip the binding to the back of the quilt.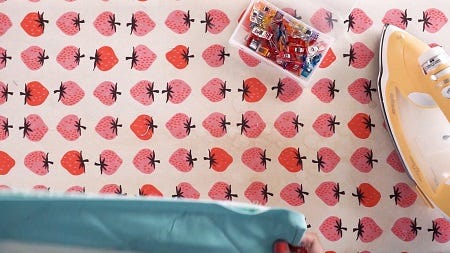

This is the last step! Get comfortable, and hand stitch the binding with a slip stitch to the back of your quilt. This may take some time, but we promise that it's worth the wait.
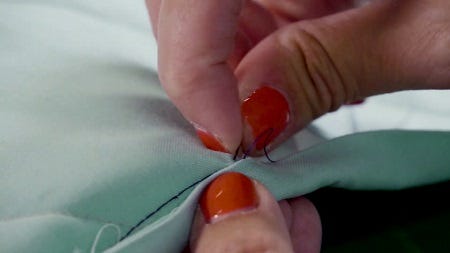

Give your quilt a good wash and get cozy after a job well done, congrats!
Additional Resources
New to quilting? Fat Quarter Shop created an entire Beginner Quilting Video Tutorial Series to help get you started. It even includes a How to Bind Your Quilt Video Tutorial that is shown here in case you have any additional questions.
If you're ready to start your next project check out our wide selection of Free Downloadable Quilt Patterns to get you started!

