Learn How to Read Cross Stitch Patterns and Cross Stitch ChartsLearn How to Read Cross Stitch Patterns and Cross Stitch Charts

How to Read a Cross Stitch Pattern to Help Beginners Start Cross Stitching

In this guide, we'll walk you through the basics of reading a cross stitch pattern, along with some helpful tips and tricks, so that you can get started on your first project with confidence.

Cross Stitch Instructions for Beginners

If you're new to cross stitching, the thought of trying to read a cross stitch pattern can be intimidating. While the detailed patterns may appear complex, they're actually quite intuitive once you understand how they work.

Understanding the Cross Stitch Grid

Cross stitch patterns are created using a grid system. The grid is made up of horizontal and vertical lines that intersect to create small squares, much like the grid paper you may have used in math class. Each of these squares represents a single stitch that corresponds to the thread colors indicated in the legend.

Most cross stitch chart grids are broken up into 10 x 10 sections, outlined with darker lines, and some charts are labeled in intervals of 10. These sections and line numbers are included in the pattern to help you track your place as you cross stitch.

Most charts also include arrows along the outer edge to point toward the center vertical and horizontal lines.

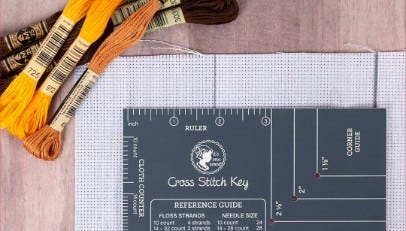
When stitching a smaller pattern, you'll typically be able to keep track of your place using your finger, but for large patterns, even the most seasoned cross stitchers will use a ruler with a pencil or tools such as magnetic rulers to mark their progress.
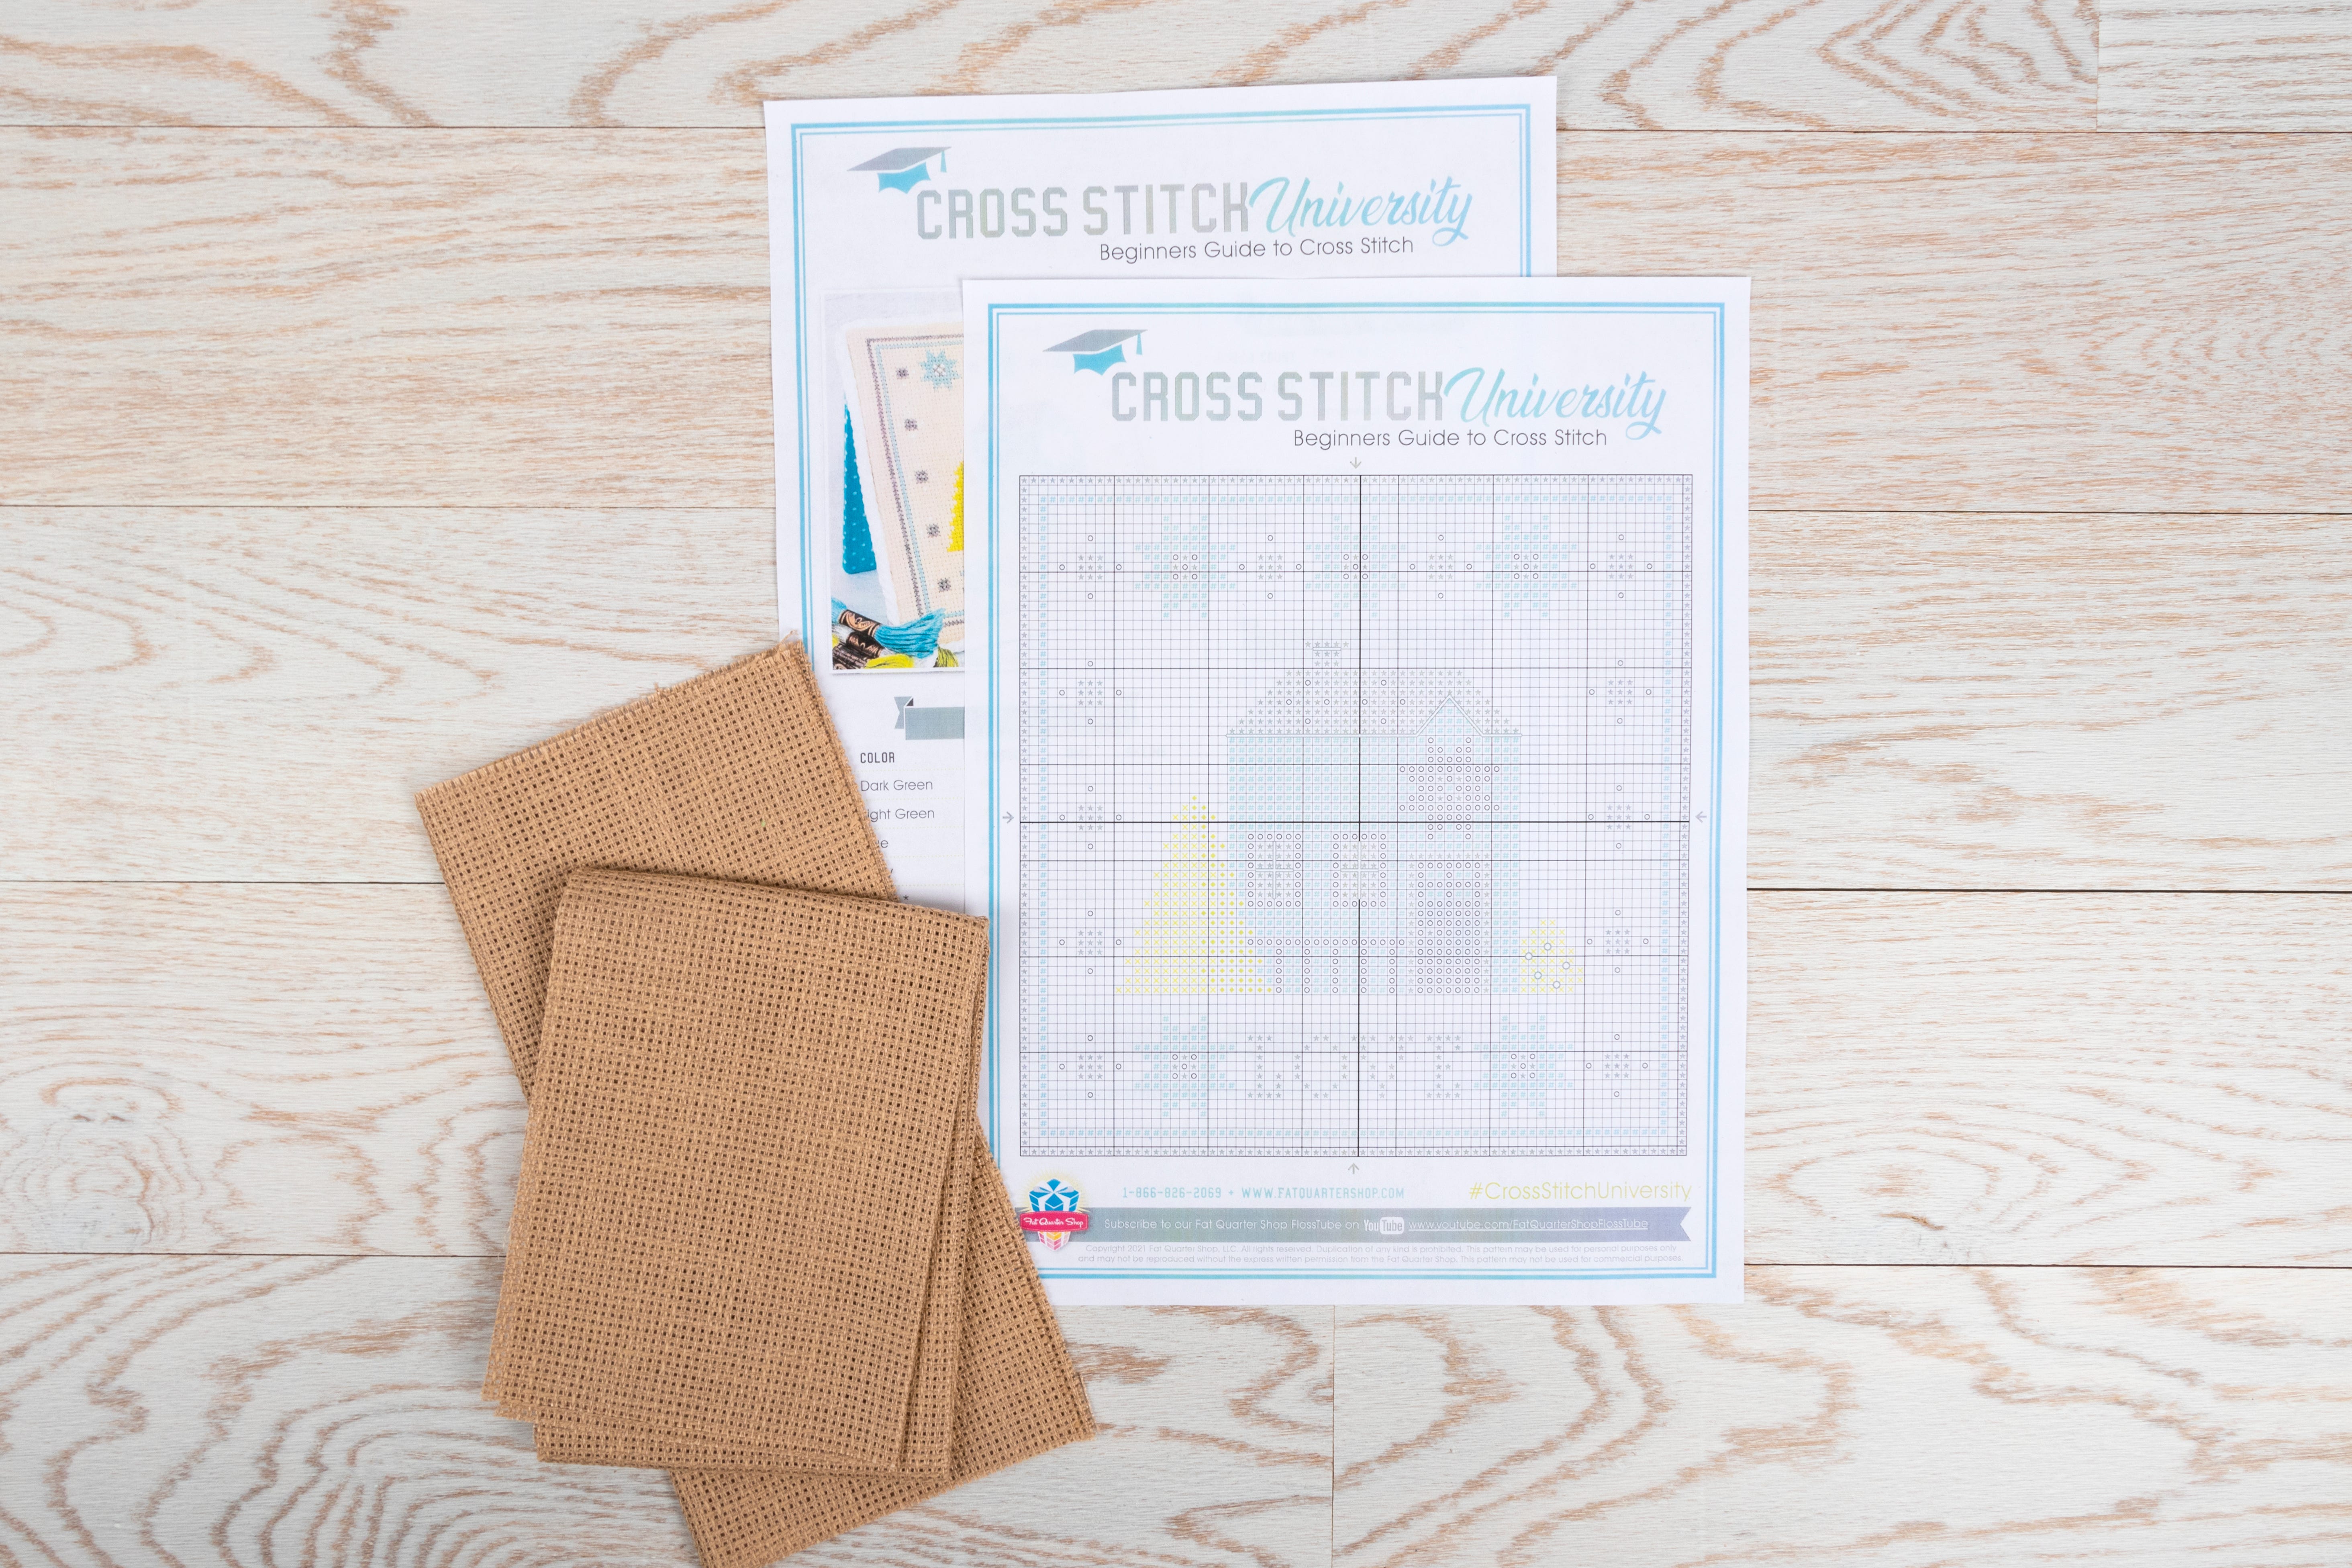
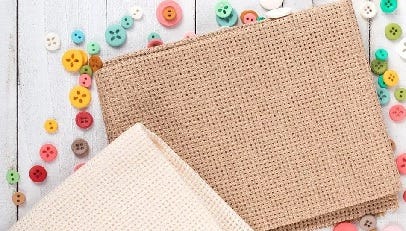
Cross Stitch University cross stitch pattern grids next to burlap fabric swatchCross Stitch University cross stitch pattern grids next to burlap fabric swatch
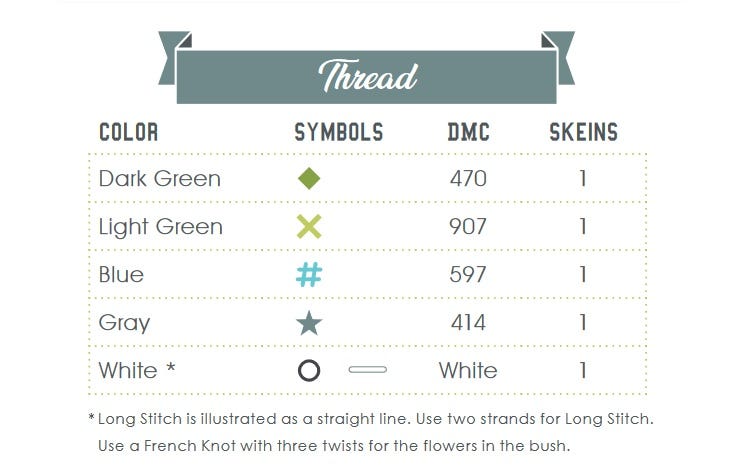
Cross stitch thread legend with columns for colors, symbols, DMC, and skeinsCross stitch thread legend with columns for colors, symbols, DMC, and skeins

Reading the Cross Stitch Legend and Symbols

An important element of learning how to read a cross stitch pattern is understanding the legend and the various symbols.

The legend is a key that corresponds to the thread colors and stitches used in the chart, such as backstitches and French knots.

In full-color charts, thread colors are depicted using a unique symbol and color block. In contrast, black and white printouts rely only on unique symbols to indicate the different thread colors in the pattern. For beginners, full-color charts will be the easiest to work with.

Each color will have its own color name and corresponding thread SKU listed (most patterns list DMC Thread) so that you can easily find the right thread for your project. Some legends may include thread brand substitutions with their corresponding color numbers.

Cross stitches, back stitches, and French knots are broken down into their own unique symbols to help you understand which stitch to use and when. Usually, cross stitches are a full square, back stitches are a colored line, and French knots are round dots.

Cross Stitch Pattern Notes

In addition to the thread color key and stitch symbols, most professionally-produced cross stitch patterns will also include a set of pattern notes.

Stitch Count

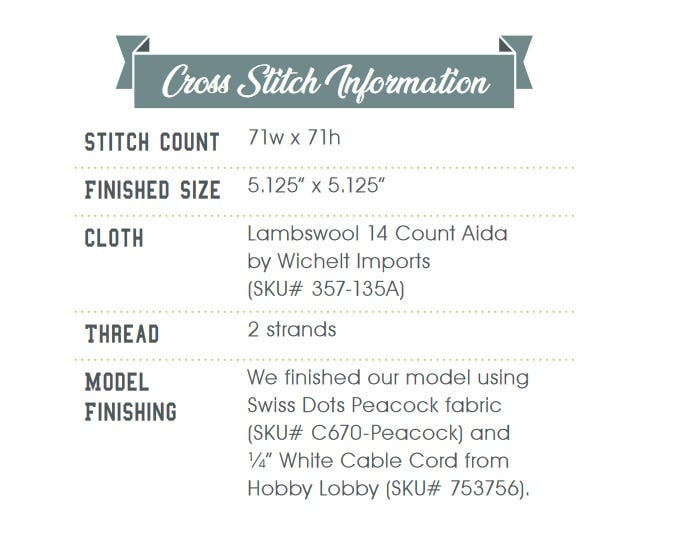
The first thing you'll notice in the pattern notes is the stitch count, which indicates the number of stitches, width, and height that the final pattern will be.

Finished Size

The finished size is how large the final stitched project will be, based on the fabric count. Use Fat Quarter Shop's Cross Stitch Calculator to determine how much fabric you'll need for your project.

Strands

Strand count indicates the number of strands of floss you should use for each stitch (cross stitch, back stitch, and French knot). Depending on the chart creator, the strand count will either be listed in the pattern notes, in the legend, or in small square brackets next to the corresponding symbol in the pattern.
Guide to Cross Stitch Instructions - Beginner Cross StitchGuide to Cross Stitch Instructions - Beginner Cross Stitch
Beginners Guide to Cross StitchBeginners Guide to Cross Stitch

How to Use The Cross Stitch Instructions

With a better understanding of how to read a cross stitch pattern, it's time to get started on your first project.

Start by gathering the supplies you'll need for your project. In addition to the cross stitch pattern and the threads listed, you'll also need your needles, fabric, embroidery scissors, and a cross stitch hoop or square.

If this is your first project, consider getting a cross stitch kit that includes everything you'll need to get started.

Once your fabric is cut to size (we recommend cutting the cloth 2” to 4” larger on all sides than the finished size) and placed in the hoop, it's time to start stitching. Begin by locating the center of your fabric and the corresponding intersection on your pattern. This is where you'll begin stitching.

Look at the symbol closest to the center of your pattern and refer to the legend to determine which color thread to use. Thread the needle and make your first stitch. Continue to follow the pattern, changing your thread colors as necessary until your project is complete.

When you're finished, remove the fabric from the hoop and admire your handiwork!

How to Read a Cross Stitch Pattern Tutorial Video

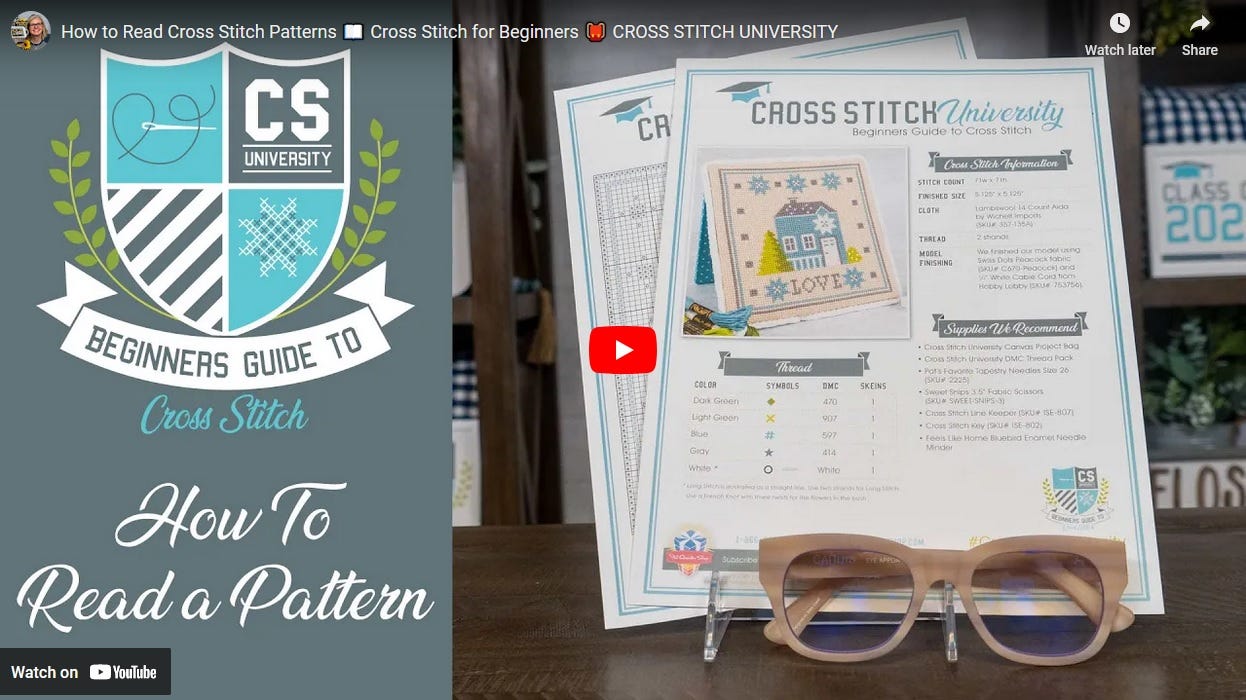
How to Read a Cross Stitch Pattern Video TutorialHow to Read a Cross Stitch Pattern Video Tutorial


Join Kimberly in this video tutorial on how to use cross stitch patterns and charts, how to figure out cross stitch fabric counts and finished sizes, and the symbols and lines used in the diagrams.

It is part of our free Cross Stitch University Tutorial Series that shows you everything you need to know to get started cross stitching. Follow along as Kimberly guides you through your very first cross stitch project.


"How to Read a Cross Stitch Pattern Tutorial" Transcript

Prefer text over video? No worries, we've included a summary of the transcript below!

Introduction to Cross Stitch Patterns

Hi, I’m Kimberly, and welcome back to Cross Stitch University. Today, we’re going to talk about how to read a cross stitch pattern. Patterns are generally divided into three sections:

  1. Cross-stitch Information

  2. Symbols (The Cross Stitch Legend)

  3. The Actual Chart

1. Cross Stitch Information

Let’s start with the cross stitch information section. Your stitch count refers to the number of stitches across and the number of stitches down. For this specific pattern, we have 71 stitches across the width and 71 stitches across the height; this represents the largest part of your piece.

We will discuss finished size in more detail in a moment, but it refers to the size of the completed design based on the cloth provided in the pattern. The cloth description will usually list the color (this one is "Lamb’s Wool"), the count, and the manufacturer.

Understanding Fabric Count:

  • 14-count means there are 14 squares per inch.

  • We use two strands of floss for 14-count fabric to get the best coverage.

  • Patterns may also list where to find additional finishing materials, such as cording or fabric.

Calculating Finished Size:

To calculate your finished size, take your stitch count and divide it by your Aida count.

  • For 14-count: 71/14 = 5 inches for both width and height.

  • For 16-count: 71/16 = 4.43 inches.

  • If you ever want to change your cloth, this is how you calculate your new finished size.

2. The Cross Stitch Legend (Symbols and Colors)

The legend section of your pattern usually features a symbol paired with a color number. Every time you see a specific symbol on your chart, it indicates that you should make a cross stitch using that specific color.

Example: You might use one color every time you see a diamond symbol, and use DMC color 907 every time you see a different specific symbol.

Your pattern will also usually list how many skeins of floss you will need. Keep in mind that these estimates are based on 14-count fabric and will change if you use 16 or 18-count. Your legend may also include information regarding specialty stitches, such as straight stitches or French knots, which we will cover later as we stitch.

3. The Cross Stitch Chart

Cross stitch charts usually have darker grid lines every 10 stitches to help you count. For example, to verify our 71-stitch width, you can count by tens (10, 20, 30, 40, 50, 60, 70) and then add the final single stitch.

These vertical and horizontal bold lines, every 10 stitches, make counting much easier. Patterns also feature very thick lines and arrows to help you locate the center point of the design.

Color vs. Black and White

This specific pattern is in full color, which is excellent for beginners because you have both a symbol and a color to guide you. However, please note that some designers only provide black-and-white charts, so consider your preference when purchasing a pattern.

Conclusion

That is how you read a cross stitch pattern! If you have any questions, please comment below so I can answer them. Make sure to subscribe to this channel and click the bell icon to be notified when the next Cross Stitch University video is released.

Class dismissed!

Learn to Cross Stitch With Fat Quarter Shop

Fat Quarter Shop has all the supplies and resources you need to get started, including our Cross Stitch University Starter Bundle for beginners. If you work best with a visual aid, you can learn how to cross stitch using our Cross Stitch University video tutorial series.

For more how-to's and expert tips, be sure to check out our other cross stitch blog posts and videos.