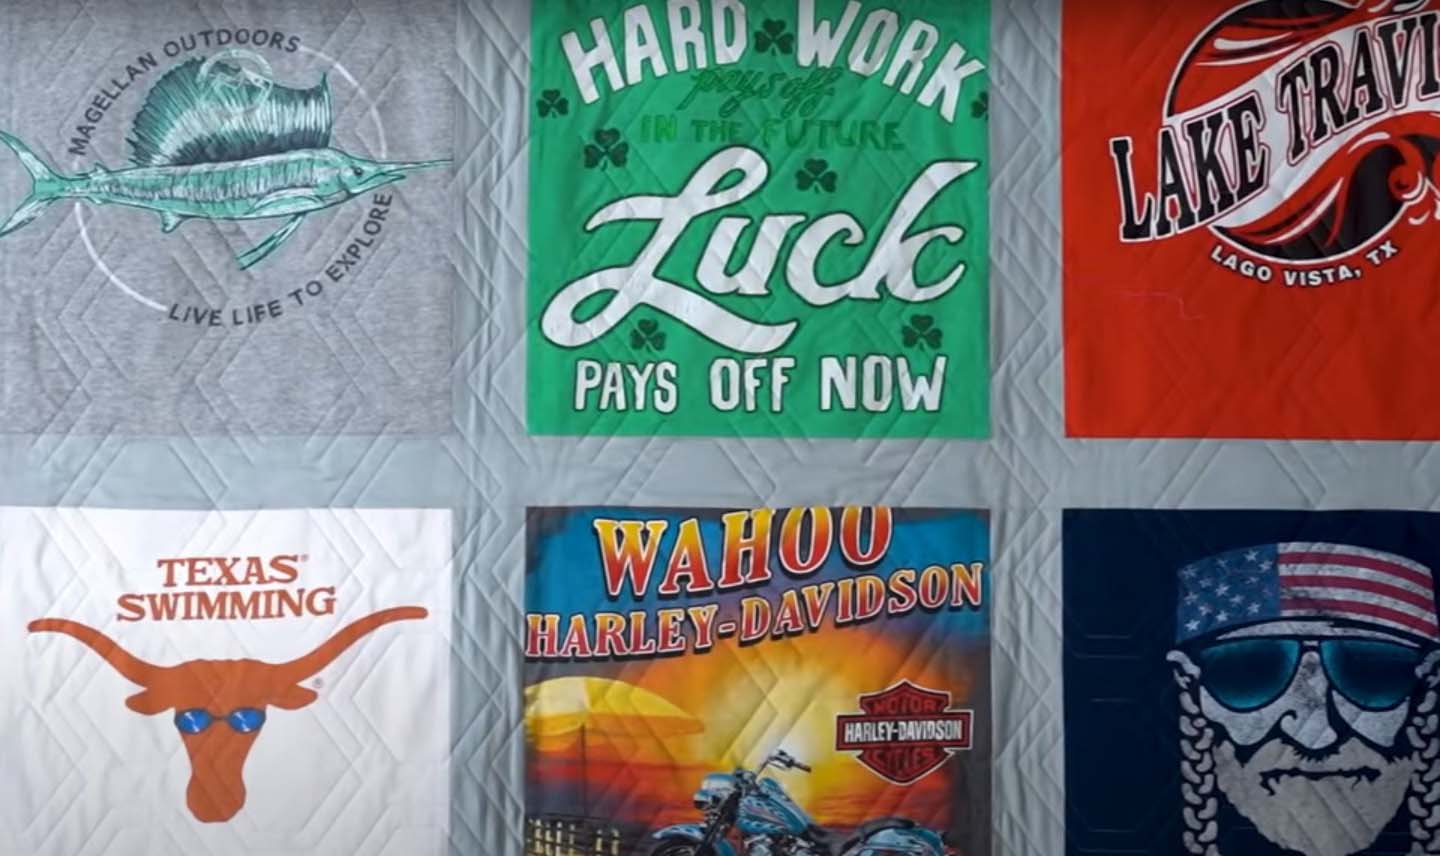
Need some supplies for your t-shirt quilt project? Visit our T-Shirt Quilts Shopping Page for a wide selection of patterns, books, and t-shirt quilt supplies including fusible interfacing and special rulers.
- Shop by Fabric
- Precut Fabric
Precut Fabrics Shop All >
- Quilt Kits
- Clubs & BOMsClubs & Block of the Months Shop All >
- Notions
- Patterns
- Books
- Cross Stitch
- Home & Gifts
How to Make a T-Shirt Quilt Tutorial
This tutorial will walk you through the step-by-step process of creating a DIY t-shirt quilt. We'll share the equipment and materials you'll need, instructions for making your T-shirt quilt, and some of our own tips and tricks to help you create a truly wonderful blanket you and your family will enjoy for a lifetime.
Be sure to check out our full selection of t-shirt quilt tutorials and patterns and use them to personalize your quilt to preserve memories.
How to Make a T-Shirt Quilt in 7 Steps
#1 Planning For Your T-Shirt Quilt:
Before getting started on your quilt, ask yourself the following questions:
- How many t-shirts have you chosen?
- Will you be using the backs of the shirts as well? If so, include them in the number of panels/shirts.
- Will you be able to cut each shirt panel into the same size?
- What size will your quilt be? Are your shirts large enough, and do you have enough shirts to make a quilt that size?
- How much additional fabric will you need to fill in the space between the t-shirts to make your desired quilt size?
#2 Prepare Your T-Shirts to Make a T-Shirt Quilt
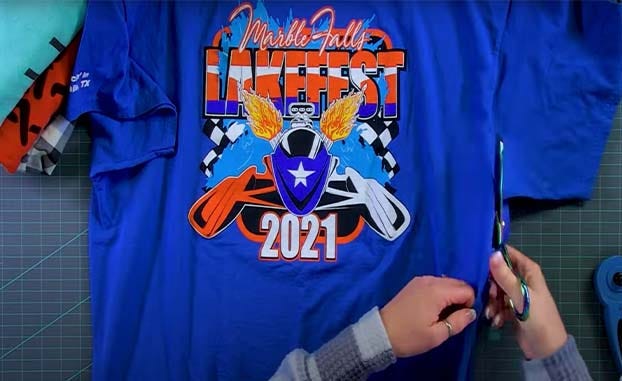

For your first step, you'll need to wash, dry, and iron the t-shirts so that they're clean and free of wrinkles.
Cut out the front panel of your t-shirt using a sharp pair of scissors. Be sure to cut as close to the seams as possible to get the most usable fabric - you'll trim the excess later.
Once you've separated the front from the back, remove the sleeves, connecting seams, the bottom hem, and the neck banding. The resulting panel should be somewhat rectangular. Repeat these steps on the back of the shirt if you intend to use it.
Perform this step on the remaining t-shirts.
#3 Attach Your Fusible Interfacing
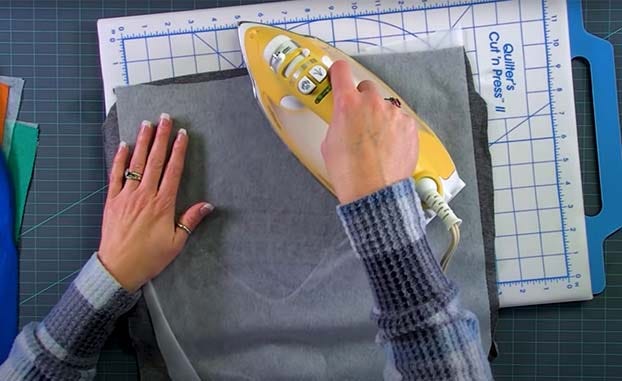
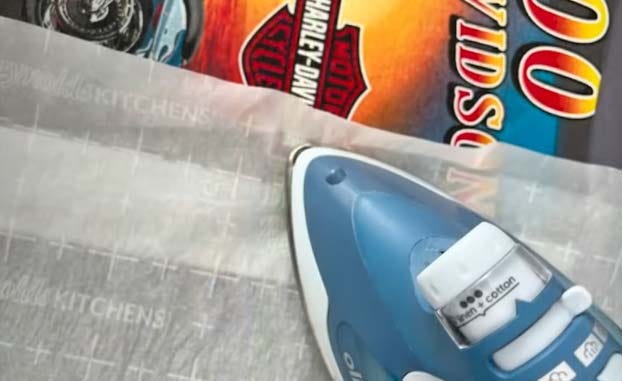
To prevent your t-shirts from shrinking or stretching, you'll need to back each panel with woven fusible interfacing. Follow the manufacturer's instructions and do your best to center the fusing on the back of your panel. Be very careful of wrinkles as they won't come out after the shirt and fusing have cooled.
Pro-tip: Parchment paper is also helpful to protect your iron against fusible material adhering to it.


#4 Make a T-Shirt Quilt Design
Have fun with this part! It's time to mix and match your shirt panels on a flat surface until you've created a design that you like best. If you're using a t-shirt quilt pattern, follow the planning guide.
This is also the perfect time to cut any additional fabric pieces that you'll use to fill in the gaps in your arrangement. Remember to leave enough fabric for a 1/4” seam allowance on all sides.
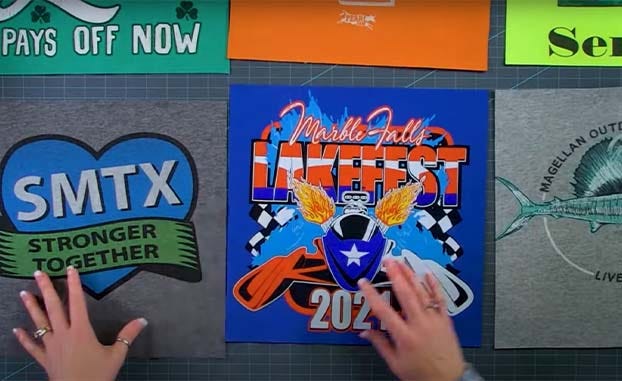

#5 Trim Your T-Shirts
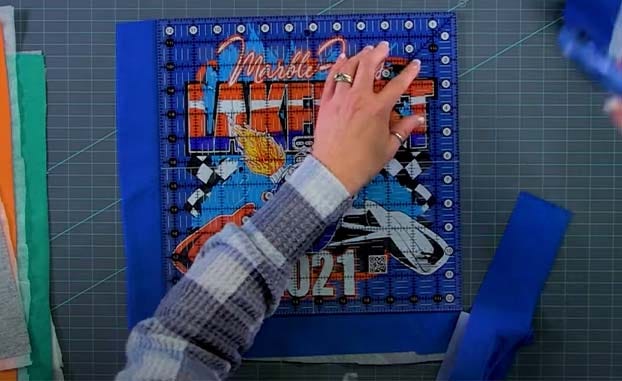

In this step, you'll be trimming your t-shirts so that they're the right shape and size for the design you created earlier. As a rule of thumb, quilters will commonly use between 12” and 14" square panels.
Before you begin cutting, make sure to leave enough excess fabric around the edges for a 1/4” seam allowance on all sides. Grab your rotary cutter to make some clean cuts.
Try to center the t-shirt graphic in this cut, and don’t worry if you need to trim some of the graphic off in this step.
#6 Cut the Fabric For Your Border and Sashing
If you would like to add sashing and/or a border, follow this step. Cut enough sashing strips to achieve your desired quilt size. A common width to cut for sashing is 2 ½-inches wide. They'll be about 2 inches once sewn.
Then, cut the border fabric to the appropriate size of your quilt.
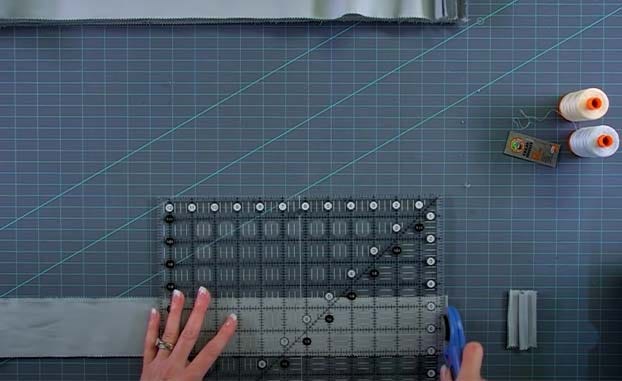

#7 Sew Your DIY T-Shirt Quilt
Sewing this quilt is pretty simple, but you'll have an even easier time if you do it on a sewing machine. Pin your t-shirt blocks, then sew them using a 1/4” seam allowance and 1.8 to 2.0 stitch length along with your sashing strips to create a row.
Once you've completed all of your rows, press your seam allowances as desired and join your rows together.
Next, cut your batting and backing to fit the size of your quilt. We recommend cutting your batting and backing fabric 5” larger on all sides.
Place your batting between the quilt top and backing fabric, and pin the three layers together. Sew the layers together using a stitch and thread color of your choice, trim off the excess batting and backing, and then sew the quilt binding strips around the perimeter of your quilt with a ¼-inch seam allowance. Check out our How To Bind Your Quilt Tutorial if you have any questions.
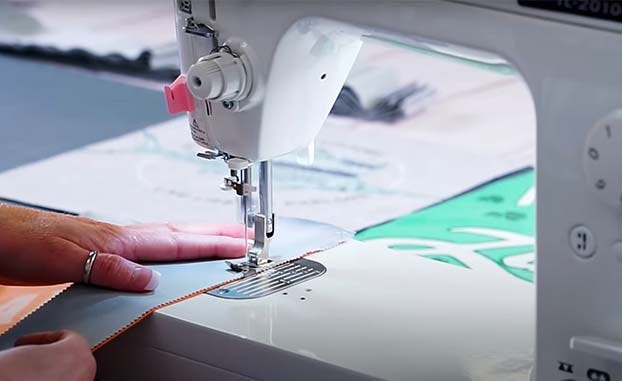


Enjoy Your T-Shirt Quilt
Congrats you’ve learned how to make a t-shirt quilt! You've finished your project and now have a cozy quilt that is full of the great memories that you've made with each one of your special tees. We hope you found this guide useful. Happy Quilting!
Video Tutorial
If you're more of a visual learner, check out our How to Make a T-Shirt Quilt Video Tutorial on YouTube. This fun and informative video tutorial is full of tips and tricks to help you create an incredible t-shirt quilt.


